
Key Takeaways
- Check local zoning laws and secure the proper permits before any demolition or construction work begins to avoid costly fines and forced reversals
- Proper insulation, moisture barriers, and HVAC extensions are non-negotiable for turning a cold concrete box into a comfortable, year-round living space
- Egress windows must meet strict building code requirements, including minimum opening dimensions and sill height from the finished floor
- Raising and insulating the floor transforms the room’s feel more than almost any other single upgrade you can make
- Budget realistically — costs vary widely based on existing conditions, finishes, and whether you need to add plumbing
- Thoughtful design choices like layered lighting, built-in storage, and warm materials help the finished room feel intentional rather than improvised
- Resale value can be affected either way, so weigh how losing covered parking will play in your local market
Running out of space at home is one of the most common reasons people start eyeing their garage with fresh interest. Maybe a new baby is on the way, maybe aging parents are moving in, or maybe you just want a quiet guest suite that keeps visitors out of the main living area. Whatever the reason, that attached concrete box sitting right off your kitchen is already roughed in, roofed, and tied to your home’s foundation. It is prime real estate hiding in plain sight.
The appeal is obvious. You get hundreds of square feet of additional living space without the sticker shock of a full addition, and in most cases the project moves faster than ground-up construction. But converting that space into something warm, functional, and code-compliant is not as simple as throwing down carpet and calling it a day.
This guide walks you through the entire process step by step, from permits and planning through finishing touches. Follow it in order and you will end up with a bedroom that feels like it was always part of the house, not an obvious afterthought.
Start With Permits, Codes, and Zoning Research
Before you buy a single two-by-four, make a trip to your local building department. When figuring out how to convert a garage into a bedroom, you’ll find converting that space into habitable living area almost always requires permits, and the rules vary dramatically by city and county. Some neighborhoods prohibit the removal of covered parking entirely. Others require you to replace that parking elsewhere on the lot.
Expect inspectors to look closely at insulation, egress, electrical, ceiling height, and ventilation. If you skip permits, you may face fines, forced demolition, or serious problems when you try to sell. A permitted conversion also adds documented square footage to your home, which matters for appraisals.
Here are the key items you will likely need to confirm with your local jurisdiction:
- Zoning rules on reducing or eliminating off-street parking
- Minimum ceiling height requirements for habitable rooms
- Insulation R-value standards for walls, floor, and ceiling
- Egress window and smoke alarm specifications
- Setback and lot coverage limits if you plan structural changes
Why Egress Rules Matter More Than You Think
Bedrooms have stricter requirements than most other rooms because occupants are often asleep when emergencies happen. According to the International Residential Code referenced in Yreka’s municipal guidance, an emergency escape window in a converted bedroom must provide at least 5.7 square feet of clear opening, with a minimum width of 20 inches, a minimum height of 24 inches, and a sill no higher than 44 inches above the finished floor. Plan your window placement around these numbers from day one, because retrofitting a larger opening after drywall is up gets expensive fast.
Set a Realistic Budget Before Design Decisions

Money shapes every choice you make, from flooring to whether you add a bathroom. Costs swing widely depending on the condition of the existing structure, your climate, and the finish level you want.
According to This Old House, a garage conversion typically costs between $9,659 and $51,659, with the most basic projects starting around $4,188. HomeAdvisor puts the average spend at around $16,460 for most homeowners, with a typical range of roughly $5,996 to $27,348. The spread is big because every garage starts in a different place — some already have drywall and subpanels, others are bare studs and raw slab.
Build your budget around these categories, and add a 15 to 20 percent contingency on top:
- Permits and design fees
- Insulation and drywall
- Flooring and subfloor construction
- Electrical upgrades and new outlets
- HVAC extension or mini-split installation
- Windows, doors, and trim
- Paint, lighting, and finish hardware
If this is your first major remodel, browsing budget garage makeover ideas can help you identify where to spend and where to save without compromising the end result.
Planning the Layout and Flow
A two-car garage usually gives you plenty of room to work with. Per statistics compiled by ProHouseMaintenance, a two-car garage adds roughly 400 to 440 square feet of floor area, which is enough for a comfortable primary suite, a guest room with a sitting area, or even a bedroom plus a small en-suite bath.
Think about how the new room connects to the rest of the house. If the garage opens into your kitchen or mudroom, you may want to add a short hallway or a closet buffer so the bedroom feels private. Consider sight lines from the front door — nobody wants to see an unmade bed from the entryway.
Sketch a few layouts on graph paper before committing. Place the bed on the longest uninterrupted wall, keep walkways at least 36 inches wide, and locate the closet near the entry so clothing storage does not dominate the sleeping zone. If plumbing is nearby, backing a bathroom up to an existing wet wall will save thousands.
Choosing Where the Door Goes
The original garage door opening is almost always the right spot for your new window wall, since it already has a header sized to carry the load above. Framing in that opening and adding one large window or a pair of smaller ones brings in natural light while preserving structural simplicity. If privacy from the street is a concern, use clerestory windows set high on the wall, or add exterior landscaping to screen the view.
Insulation, Climate Control, and Moisture
This is the step that separates a real bedroom from a glorified storage room with a bed in it. Garages are built to shed water and vent exhaust, not to hold comfortable temperatures. Expect to insulate walls to current code, add rigid foam under a new raised subfloor, and insulate the ceiling or roof deck above.
Moisture is the silent killer of garage conversions. Concrete slabs wick ground moisture upward, so lay a vapor barrier before you build the subfloor. Seal the perimeter where the slab meets the wall, caulk any cracks, and consider a dehumidifier for the first year while the space acclimates.
For heating and cooling, you have three main options:
- Extend the existing HVAC system if the furnace has spare capacity
- Install a ductless mini-split, which is efficient and quiet
- Add electric baseboard or radiant floor heating in mild climates
A mini-split is often the sweet spot. It handles both heating and cooling, installs quickly, and keeps the new room on its own thermostat soyou are not fighting the rest of the house for comfort.
Flooring, Walls, and Ceiling Finishes
Once the shell is tight and dry, the finishes decide whether the room reads as a bedroom or still whispers “garage.” Start from the ground up. A raised subfloor built on sleepers over rigid foam gives you a warmer surface underfoot, hides any slope in the original slab, and lets you run electrical where you need it. Over that, engineered hardwood, luxury vinyl plank, or wall-to-wall carpet all work beautifully. Avoid tile directly on the slab unless you have added radiant heat, because cold feet in the morning will sour you on the whole project.
Walls are more forgiving. Standard half-inch drywall over properly insulated studs is the baseline, but consider upgrading to a Level 5 finish on the wall your bed will sit against — it photographs better and takes paint more evenly. If the ceiling feels low, run the drywall tight to the trusses and skip any dropped soffits. Painting the ceiling the same soft white as the walls visually lifts the whole room.
Color and Texture Choices That Warm the Space
Garages feel industrial because they are full of hard, cold surfaces. Counter that with softness at every layer:
- Warm neutral paint tones like greige, bone, or muted clay
- A chunky wool or jute rug layered under the bed
- Linen or cotton curtains hung high and wide to soften the window wall
- A woven or upholstered headboard rather than metal or lacquered wood
- Matte finishes on hardware instead of polished chrome
Lighting the New Bedroom Properly
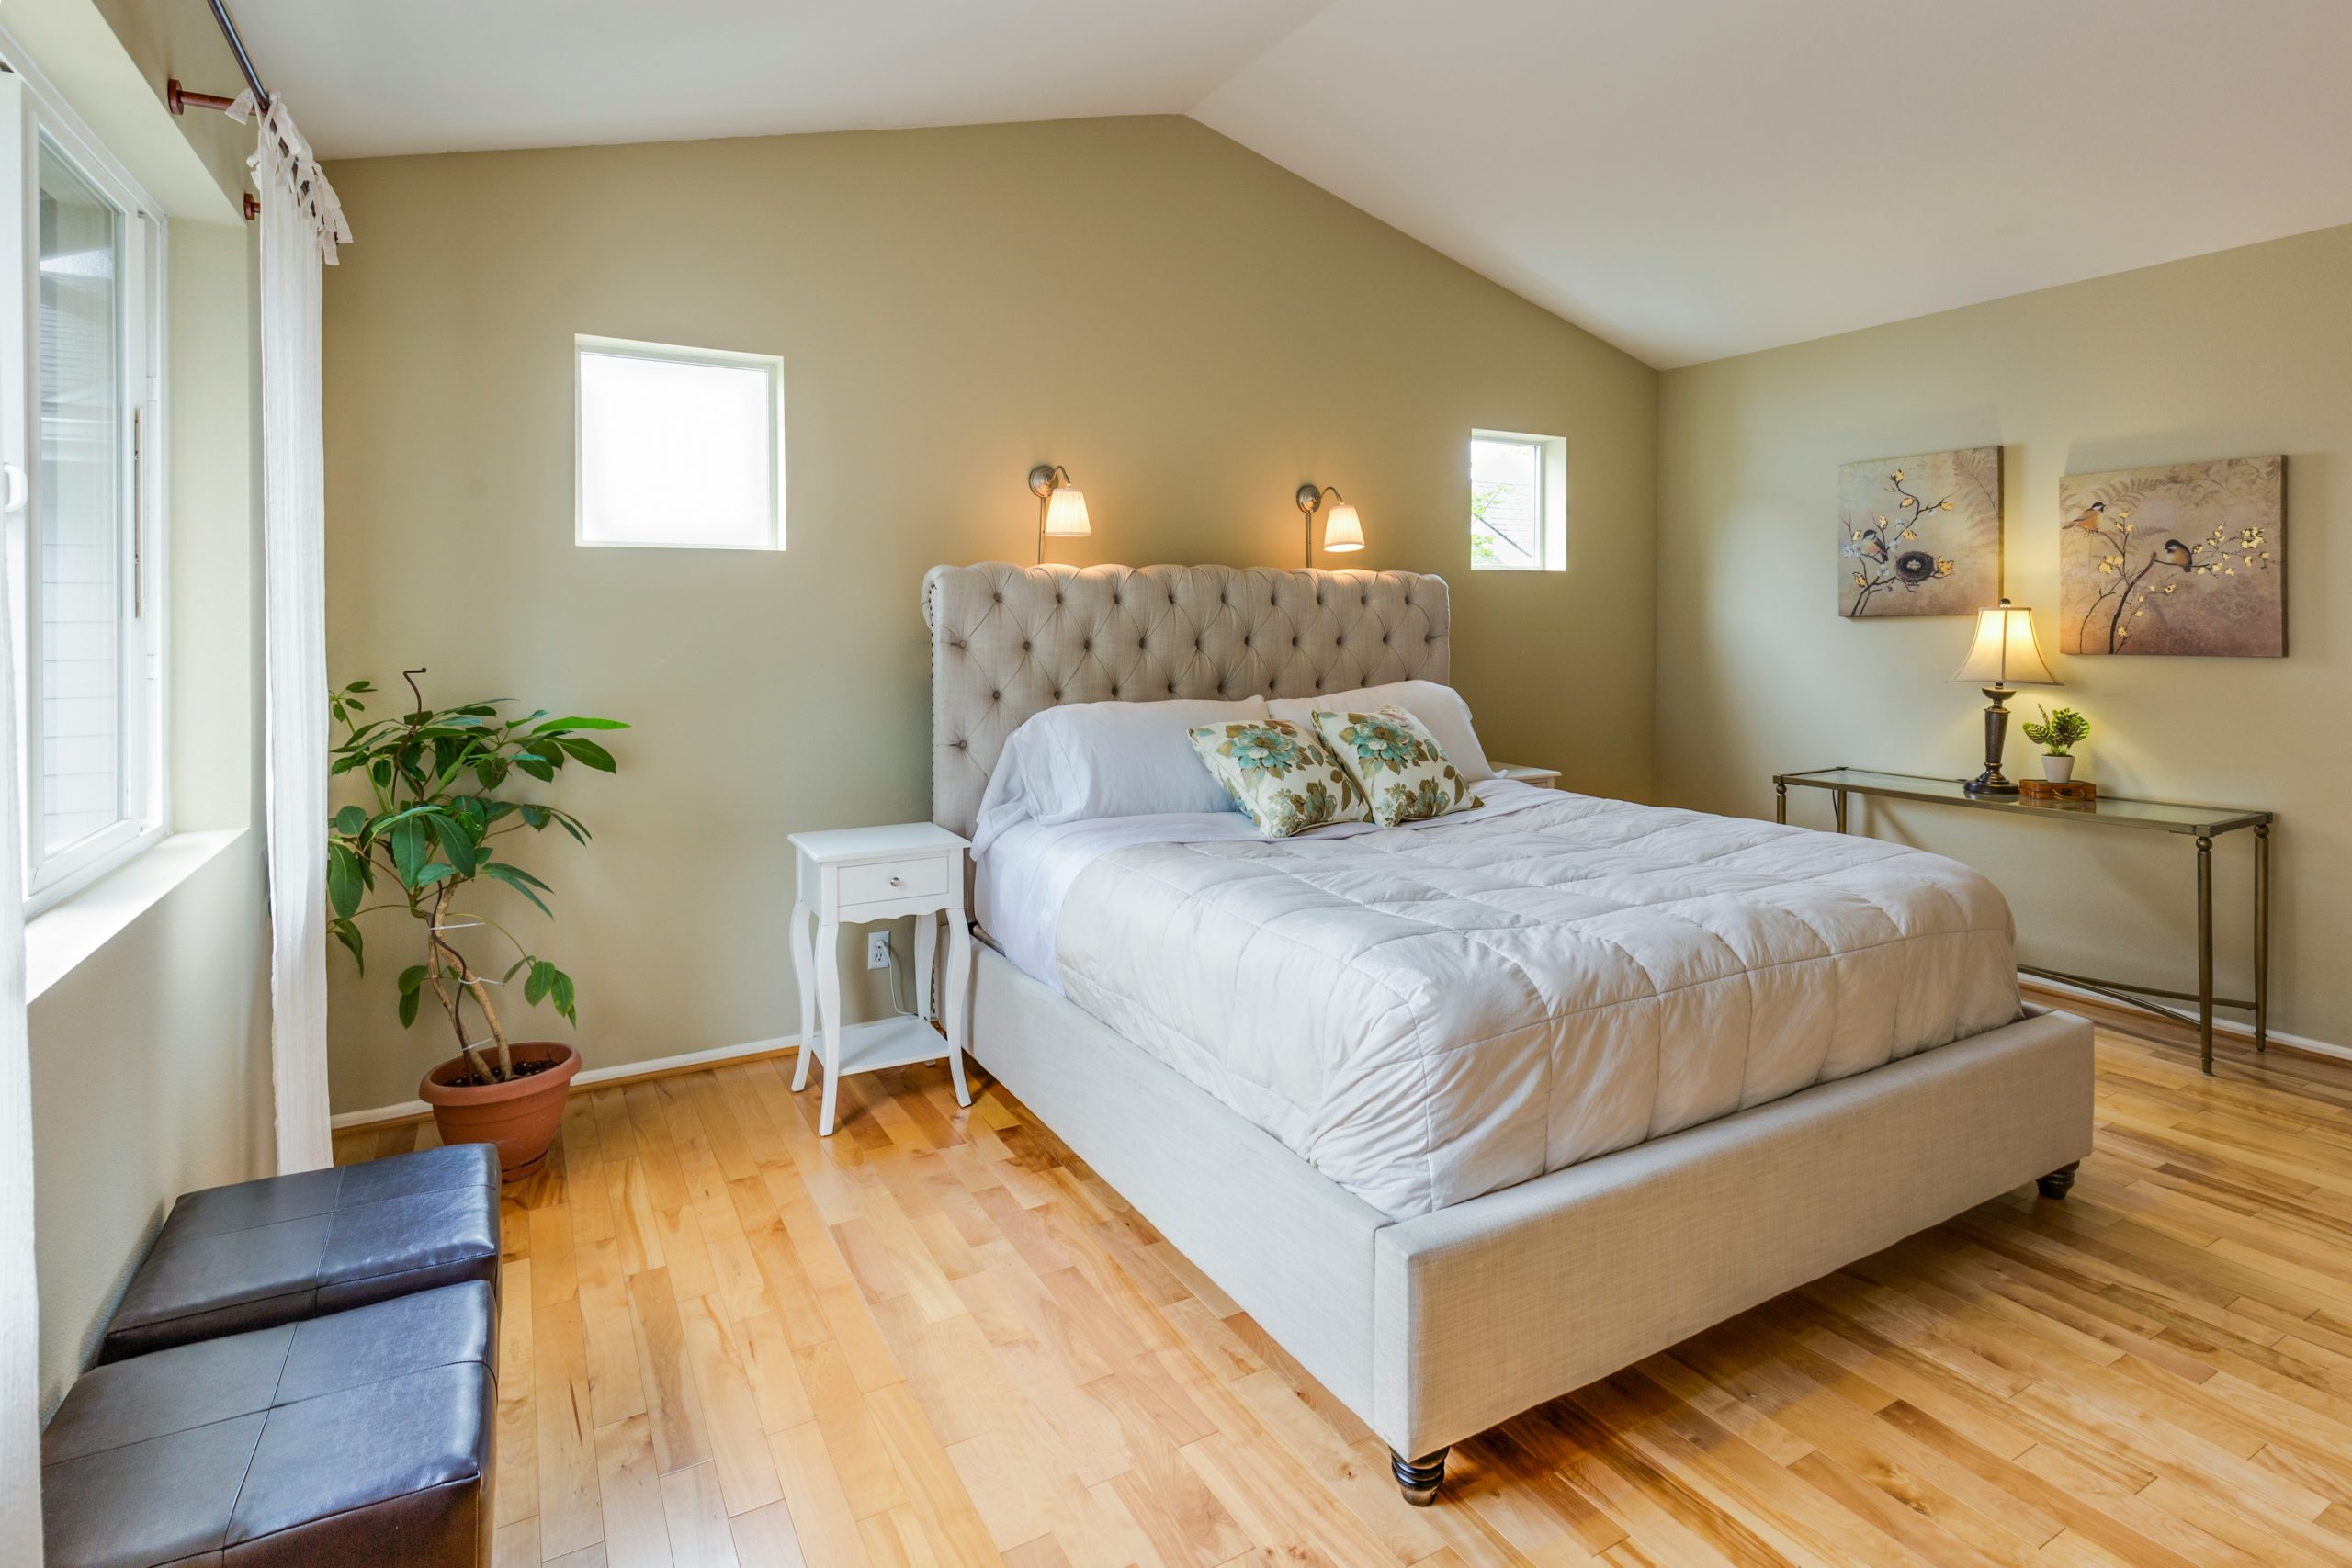
Original garages typically have one bare bulb and a couple of outlets on a single circuit. That has to change. Plan for layered lighting from the start, because adding fixtures after drywall is a headache.
Aim for at least three sources of light in the room. Recessed cans on a dimmer handle general illumination. Wall sconces or pendants flanking the bed free up nightstand space and add warmth at eye level. A floor lamp in a reading corner rounds things out. Put the overhead lights on a dimmer switch near the door, and add a second three-way switch by the bed so nobody has to get up to kill the lights.
Do not forget daylight. North-facing windows give soft, consistent light all day, while south-facing openings may need sheer curtains to cut glare. If the only wall you can open faces a neighbor, frosted glass or glass block preserves privacy without sacrificing brightness.
Storage, Closets, and Built-Ins
Bedrooms live or die by their storage. A reach-in closet framed along one short wall is the simplest solution, but if you have the room, a small walk-in reads as a serious upgrade and costs little more in materials. Line it with a basic wire or melamine system rather than custom millwork to keep the budget in check.
Built-ins around the bed or under the window wall add character and function at the same time. Bench seating with lift-up lids under a row of windows gives you a reading nook plus linen storage. Shallow bookcases flanking the headboard create a built-in look without eating floor space. If the ceiling allows, a loft shelf above the closet door swallows seasonal bins that would otherwise clutter the room.
Reversibility and Resale Considerations
Before you commit, think about who will own this house after you. In markets where covered parking is a selling point — snowy climates, dense urban neighborhoods, areas with HOA street-parking rules — losing the garage can shave value off your asking price. In warmer regions or neighborhoods where added square footage matters more than a parking bay, the opposite is often true.
Design with some reversibility in mind if you are unsure. Keep the original door header intact behind the new window wall. Avoid pouring new concrete that would need to be jackhammered out later. Document everything with photos and keep your permit paperwork organized in a folder you can hand to a future buyer or appraiser. That record alone can swing a sale.
Wrapping It Up
Turning an underused parking bay into a real bedroom is one of the highest-impact projects a homeowner can tackle without pouring a new foundation. The structure is already there, the roof is already overhead, and the utilities are usually within easy reach. What stands between you and a finished room is a sequence of decisions — permits first, then insulation and moisture control, then thoughtful layout, then finishes that make the space feel deliberate.
The homeowners who end up happiest are the ones who treat this project with the same seriousness as any other addition. They pull permits, they insulate properly, they size the HVAC correctly, and they spend money on the invisible layers that keep the room comfortable for decades. Cutting corners on vapor barriers or egress windows always comes back to bite, usually at the worst possible time.
Take the process one phase at a time, lean on licensed trades for the work that affects safety and resale, and give yourself permission to splurge on the finishes you will see every day. Done right, the room will stop feeling like a reclaimed garage within a few weeks of moving furniture in — and start feeling like it was always meant to be part of your home.